


Flooring Waste Calculation for a Better Order
A flooring order that comes up one box short can stop an installation at the worst possible time. The right flooring waste calculation helps you order enough material for clean cuts, consistent colour and pattern flow, and the unexpected details found in real Ontario homes - without paying for far more flooring than the project needs.
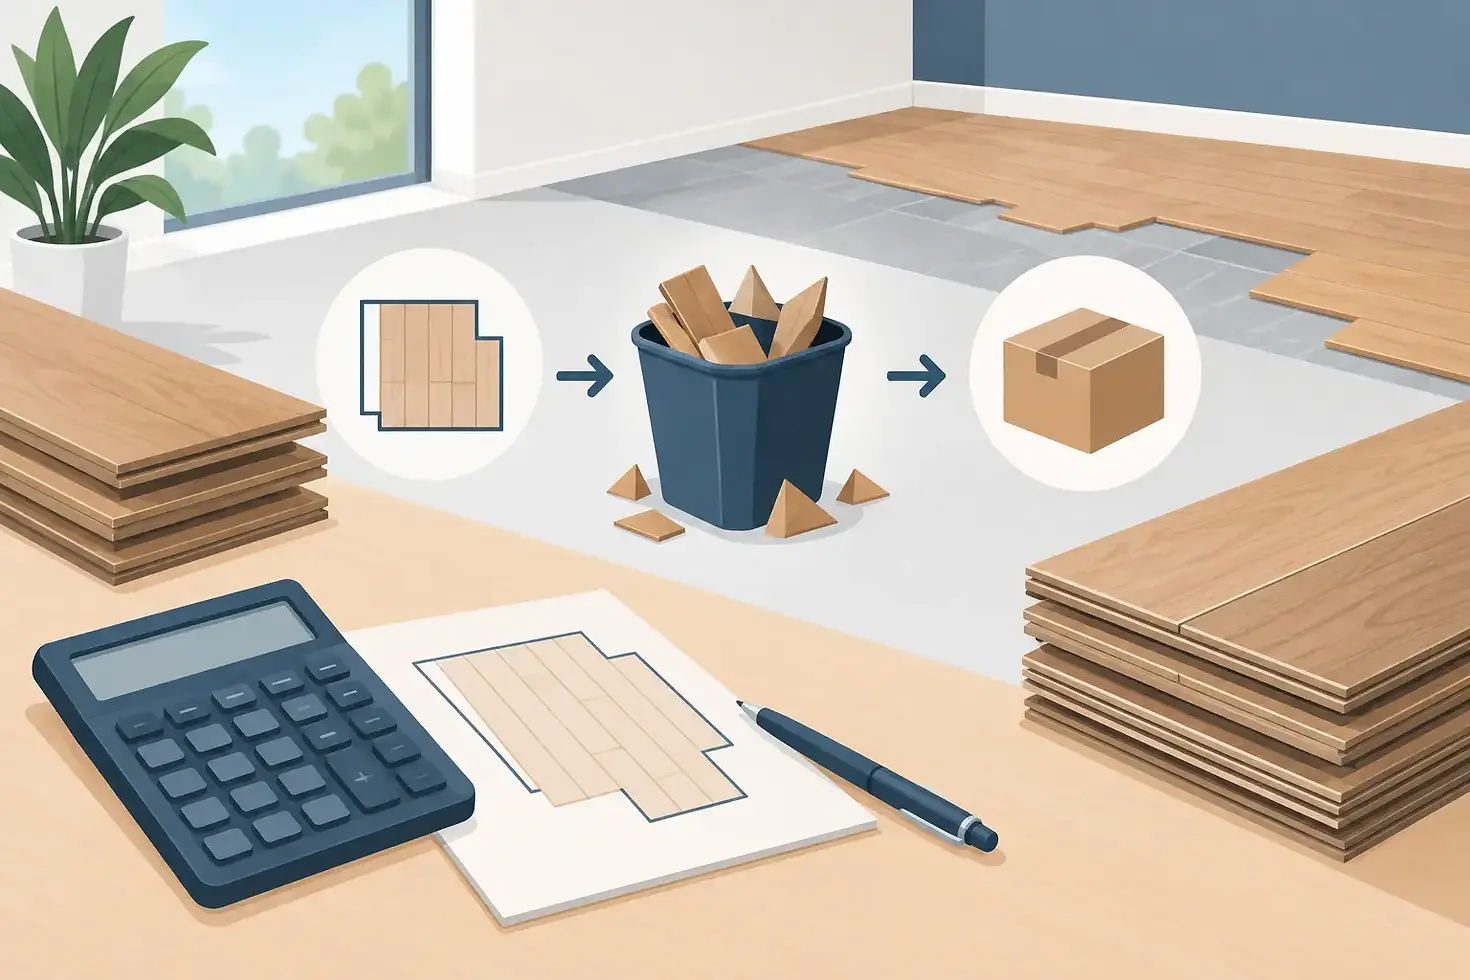
The starting point is simple: measure the floor area, then add a waste allowance before converting that total into boxes. The allowance is not a guess or an unnecessary upsell. It accounts for the material used at walls, doorways, closets, vents, angles, transitions, and end-of-run cuts. How much to add depends on the flooring product and the layout of the space.
Flooring Waste Calculation: Start With Net Square Footage
First, calculate the net square footage of every area receiving the same flooring. Measure each room's length and width in feet, then multiply them together.
For example, a 14-foot by 16-foot living room equals 224 square feet. A 10-foot by 12-foot dining room equals 120 square feet. If the same floor continues through both rooms, the net area is 344 square feet.
Rooms are rarely perfect rectangles. For L-shaped rooms, hallways, bay windows, alcoves, and open-concept spaces, break the area into smaller rectangles, calculate each one, and add them together. A triangular space can be calculated by multiplying its base by its height, then dividing by two.
Do not subtract every small obstruction automatically. A kitchen island, fireplace hearth, or fixed cabinet may reduce the floor area, but the savings can disappear in the cuts required around it. If the area is small or awkwardly shaped, it is usually safer to include it in the calculation and let the waste allowance carry the project.
Once you have the net square footage, use this formula:
Net square footage × waste percentage = extra material needed
Then add that extra material to the net square footage. For a 344-square-foot project with a 10% waste allowance, order for approximately 378 square feet before rounding up to full boxes.
Choose a Waste Allowance That Fits the Job
A standard rectangular room with a straightforward installation may need only 5% to 8% extra material. Most residential flooring projects benefit from 8% to 10%, particularly when flooring continues through several rooms. Projects with many turns, narrow halls, diagonal layouts, stairs, or wide-plank hardwood often require 10% to 15% or more.
The product itself matters. Laminate and click vinyl flooring are usually installed with a floating system and can be efficient to cut and fit in a simple room. Hardwood and engineered hardwood may need additional allowance because plank selection, staggered end joints, direction changes, and natural colour variation all affect how boards are used. Longer and wider planks can also create more offcuts when the room dimensions do not work neatly with the board length.
A practical guide looks like this:
5% to 8% for a square or rectangular room with few obstacles and a straight layout.
8% to 10% for most connected rooms, open-concept areas, and standard renovation projects.
10% to 15% for diagonal installation, multiple closets, hallways, curved walls, complex layouts, and premium wide-plank products.
15% or more for stairs, herringbone or chevron patterns, major repair allowances, and highly irregular spaces.
These figures are guidelines, not a substitute for reviewing the actual site. An experienced installer may use material more efficiently than a first-time DIY homeowner, while some layouts need more material regardless of skill. A free in-home estimate can confirm measurements, installation direction, subfloor conditions, transitions, and the realistic amount to order before materials arrive.
Why Layout Direction Changes the Number
Flooring is commonly installed parallel to the longest wall, toward the main source of natural light, or continuously through the main living area. The best direction depends on the room, product, subfloor, and visual result you want. It also affects waste.
If a room is 13 feet wide and the flooring planks are 7 inches wide, the installer will likely need to rip the first or last row lengthwise. In a series of connected spaces, those cut pieces may sometimes be useful elsewhere. In a room with several doorways or a narrow corridor, they may not be.
Diagonal flooring creates an especially attractive result in some homes, but it requires more perimeter cuts. Herringbone and chevron layouts also require a larger allowance because the pattern dictates where pieces can be used. Ordering only a standard 5% extra for these installations can create avoidable delays.
The same principle applies to stairs. Stair treads, nosings, risers, landings, and stringer details should be measured separately from the main floor. Stair remodeling often uses dedicated components rather than standard flooring boards, especially for solid oak tread conversions, matching nosings, posts, handrails, and metal pickets. Treating the staircase as part of the main floor calculation is a common source of under-ordering.
Calculate by Box, Not by Board
Flooring is sold by box coverage, so the final order must be rounded up to full cartons. Check the product specification carefully. One laminate box may cover 18 square feet, while an engineered hardwood box may cover 22 square feet. Similar-looking products can have very different box coverage.
Suppose your adjusted total is 378 square feet and each box covers 21.5 square feet. Divide 378 by 21.5, which equals 17.58 boxes. You would order 18 boxes, not 17. The fraction represents material you still need, and suppliers generally cannot sell a partial carton.
Avoid rounding down because the remaining shortfall looks small. One missing box can be difficult to replace, particularly if the original colour, lot number, plank dimensions, or surface finish is no longer available. Flooring is manufactured in production runs, and colour variation between lots is normal in wood-look and natural wood products.
For that reason, keeping one unopened box after installation can be sensible for future repairs. This is especially worthwhile in busy homes with children, pets, rental properties, or areas where water damage is more likely. The decision depends on budget, available storage, and whether the product is expected to remain available, but matching material years later is never guaranteed.
Do Not Forget Finishing Materials
Your flooring waste calculation covers the field flooring, but a complete order includes more than planks. Underlayment, moisture barrier, adhesives, levelling materials, trims, transitions, stair nosings, and vent covers need their own measurements.
For floating laminate or click vinyl, underlayment is normally calculated from the full floor area with a modest allowance for overlaps and trimming. Adhesive for glue-down flooring must be calculated according to the adhesive manufacturer's coverage rate and the condition of the subfloor. A subfloor that needs patching or levelling can increase material requirements significantly.
Baseboards and quarter round are measured in linear feet, not square feet. Measure the perimeter where trim will be installed and add a cut allowance, especially for rooms with many corners. Flush-mount wood vents and metal vent covers should be identified during planning so the installer can account for their openings and achieve a coordinated finish. Ordering flooring first and addressing vents later can lead to a mismatched look or unnecessary site cutting.
Common Calculation Mistakes to Avoid
The most frequent mistake is using the home's total square footage instead of measuring the actual rooms receiving flooring. Closets, storage spaces, tiled washrooms, carpeted bedrooms, and fixed cabinetry can make a large difference.
Another mistake is applying the same waste percentage to every project. A single rectangular bedroom and a main floor with a kitchen, pantry, foyer, living room, and several transitions are not comparable. Material waste is driven by cuts and layout complexity, not only total area.
Homeowners also sometimes calculate the floor area correctly but overlook product transitions. If hardwood meets tile, carpet, or vinyl at a doorway, the installer needs the right reducer, T-moulding, or end cap, as well as a clean expansion detail where required. These components do not add much square footage, but they matter to the final result.
Finally, do not make a buying decision based only on the lowest box price. A product with larger boxes or fewer available matching trims may appear less expensive until the required waste, installation method, and finishing details are considered. The better comparison is the complete installed project: material, preparation, delivery, transitions, vents, stairs, and the workmanship needed to finish it properly.
Q Flooring can help homeowners and trade professionals confirm measurements and product coverage before placing an order, whether the project calls for hardwood, engineered hardwood, laminate, or click vinyl. Bringing room dimensions, a basic sketch, photos of doorways and vents, and details about any stair work makes the estimate more accurate.
A careful measurement and a realistic allowance give your installer room to do the job properly, while leaving you with the confidence that the floor, trim, vents, and transitions can be finished as one considered space.


Comments